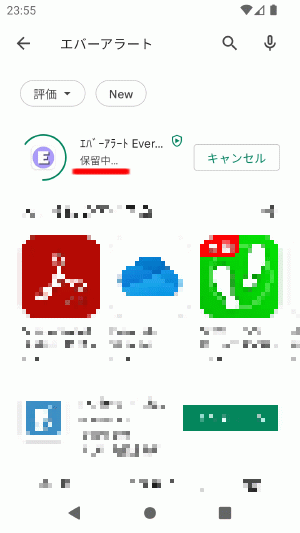
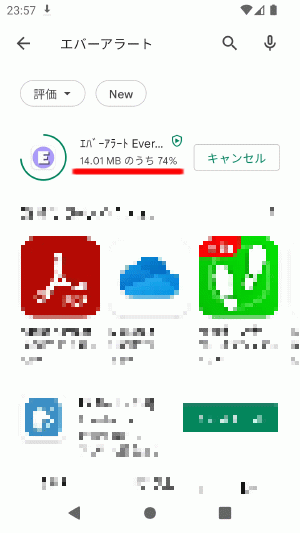
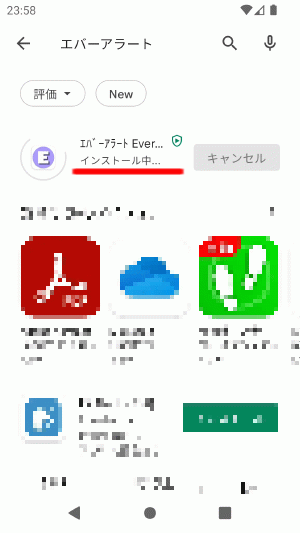
From how to install the app to how to activate the app, we will explain in an easy-to-understand manner with images. Below each image is a description. When step 5 is completed, the flashing function will be activated.
*Install the app while your smartphone can use the internet.
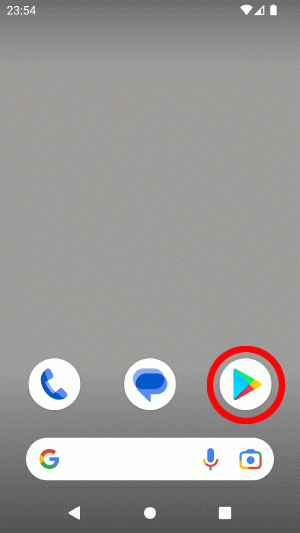
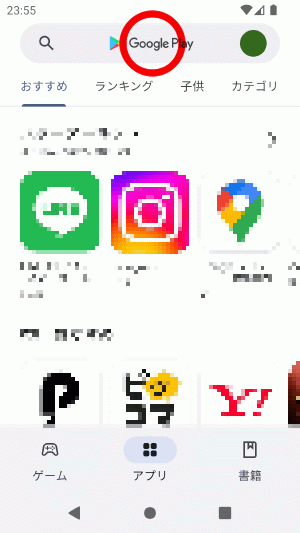
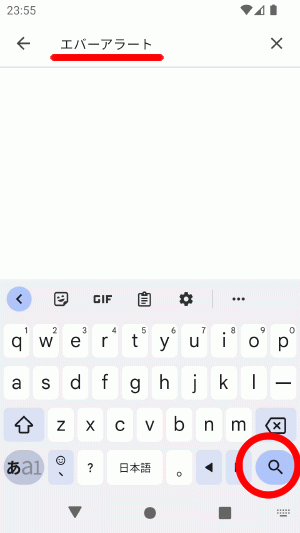
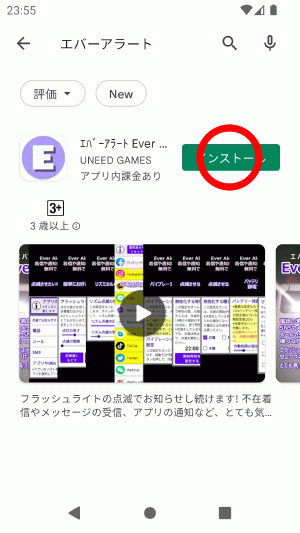
Below, If you don't use "Get it on Google Play " or " QR Code" How to install is explained.
Tap the red circle .
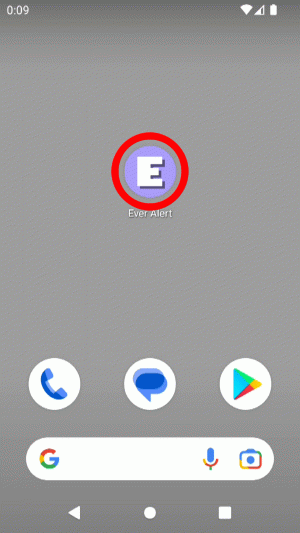
Tap the home button, etc. to return to the home screen. This completes "Step 1 Install the app". Please proceed to step 2.
Now that the installation is complete, launch the EverAlert app.
When the installation of the app is complete, the " Ever Alert " icon may be automatically added to the home screen. * Depending on the Android version, the icon may or may not be automatically added to the home screen. If the application can be started, "Step 2 Start the application" is completed. Go to step 3.
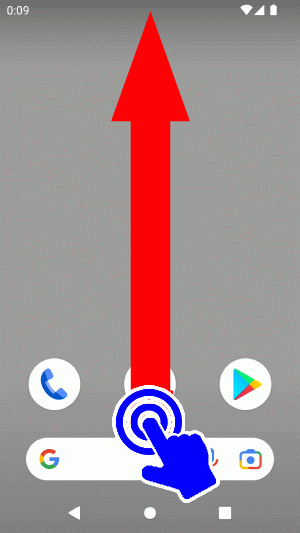
What is "swipe"? [Touch the screen with your finger and slide your finger while touching the screen] .
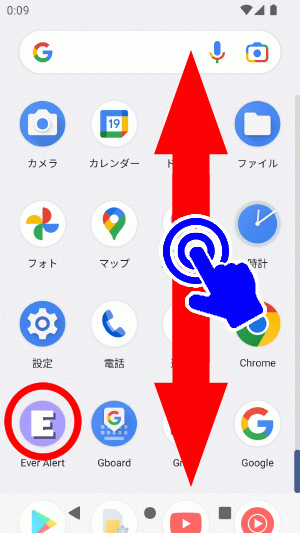
Swipe up or down on this screen. You will find the " Ever Alert " icon. Tap the Ever Alert icon that you find. The app will launch. If the application can be started, "Step 2 Start the application" is completed. Please proceed to step 3.
This completes "Step 2 Start the app". Go to step 3.
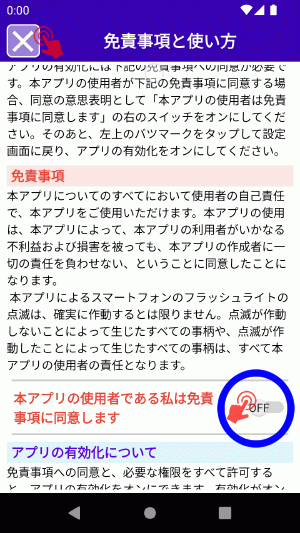
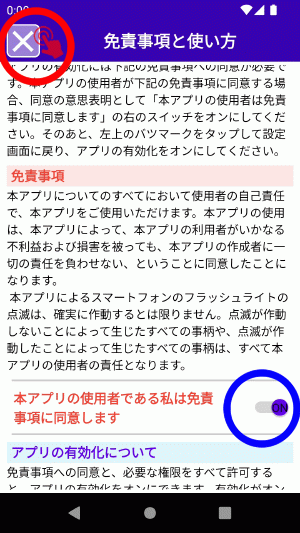
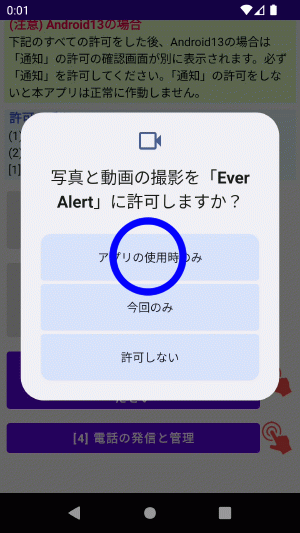
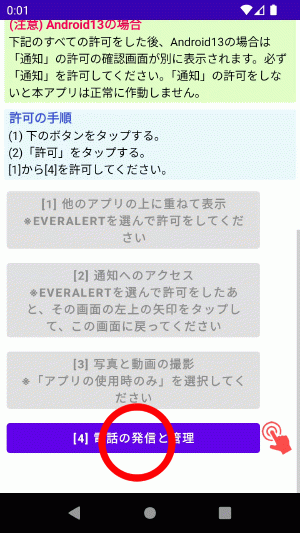
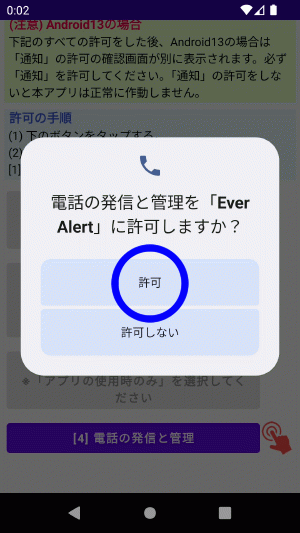
After launching the app, do "Accept Disclaimer" and "Allow Features" in the initial settings.
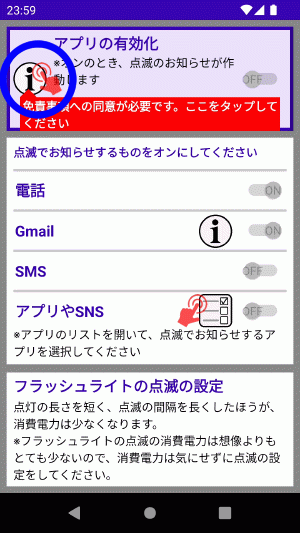
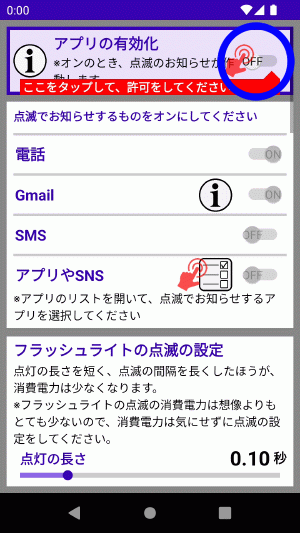
This is the main screen of the app. When the main screen appears, Tap the blue circle at the top left .
Tap the red circle at the top left to return to the main screen.
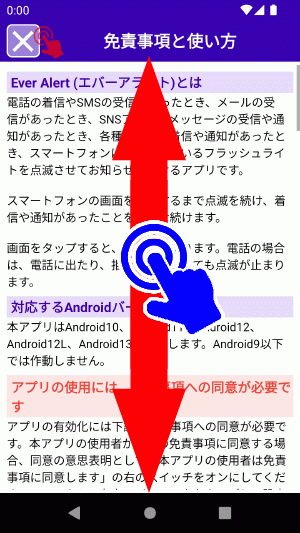
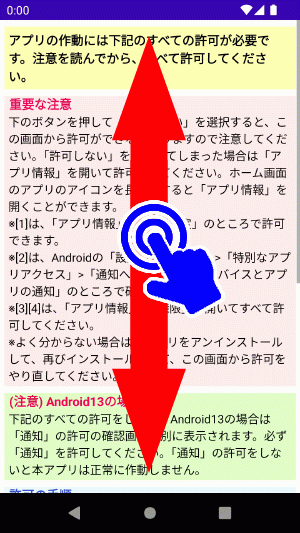
Swipe up or down on this screen.
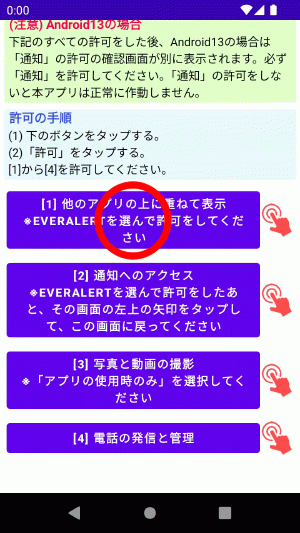
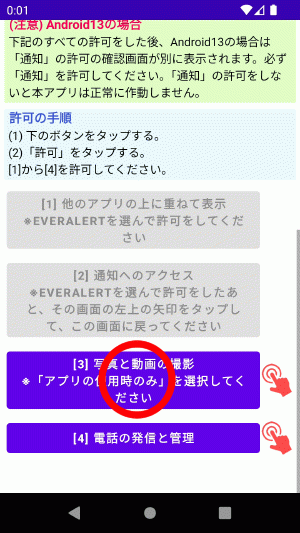
Tap [1] button red circle .
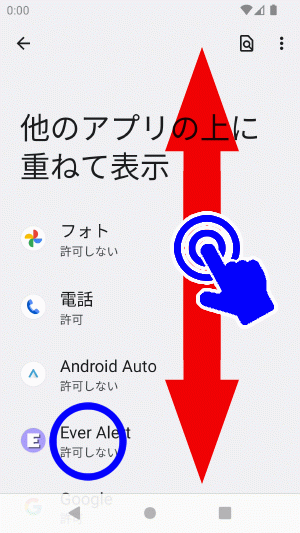
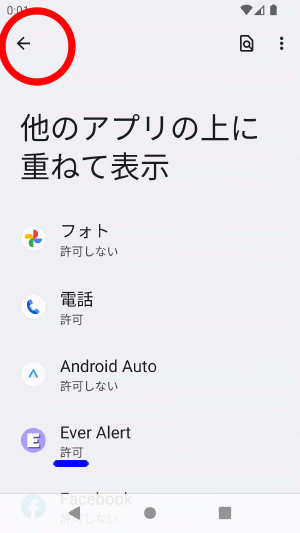
Swipe up/down to find Ever Alert. Once you find "Ever Alert", < B > Tap " Ever Alert " .
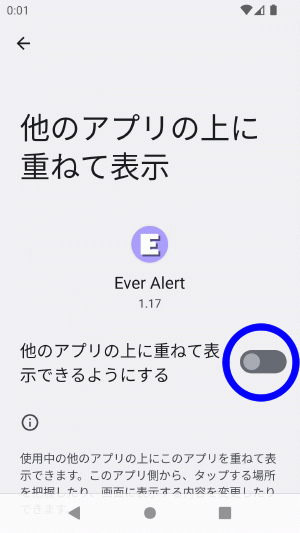
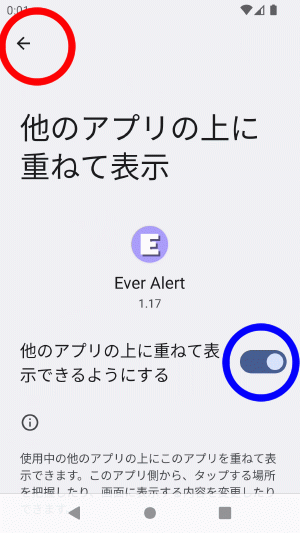
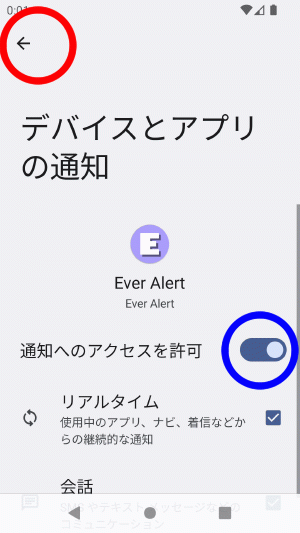
When the blue circle changes, Tap the top left arrow .
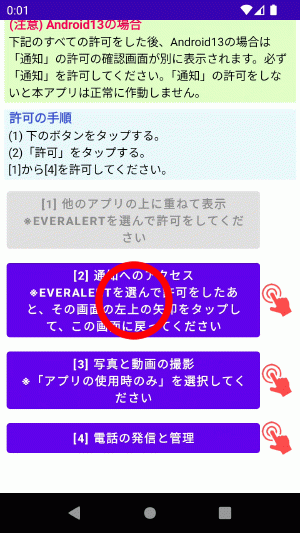
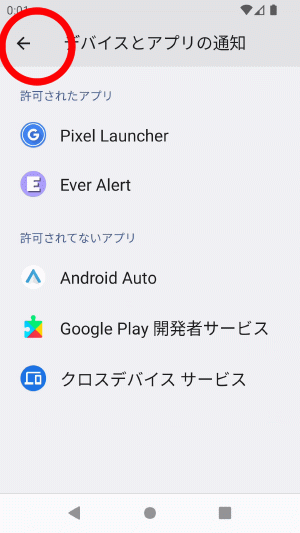
Tap the top left arrow . Go back to the 4 button screen.
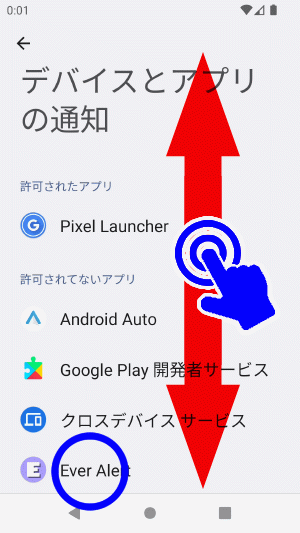
Swipe up or down until you find Ever Alert , then tap on Ever Alert . * For Android12 , Android11 , and Android10 , the above screen will not be displayed, so please proceed to the explanation below.
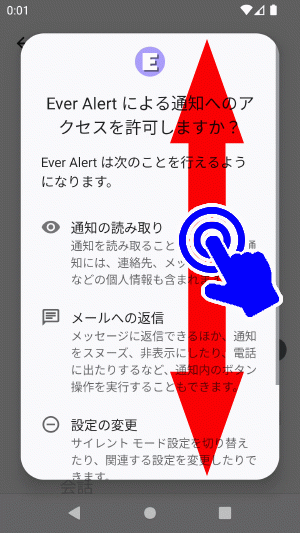
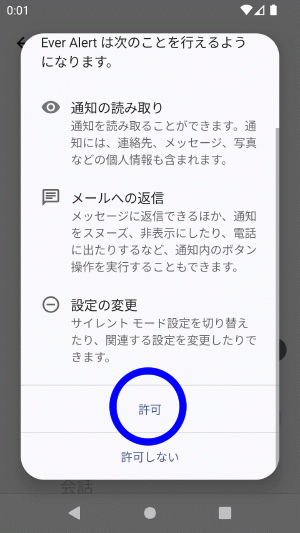
* On Android 12 , Android 11 and Android 10, it will be displayed as "Access to Notifications" . Tap the blue circle to the right of "Allow access to notifications" .
* Android12 , Android11 , Android10 have a slightly different display, but they have the same "Allow" display.
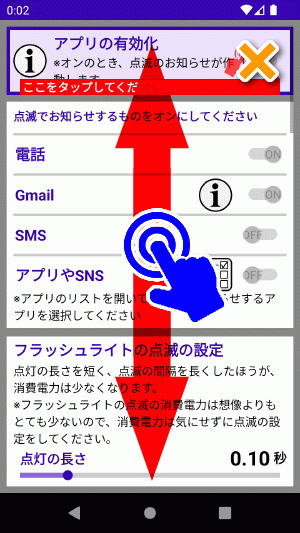
[1] to [4] is completed, it will automatically return to the main screen. This is the end of "Step 3 Initial settings for the app". Please proceed to step 4.
Now that the initial setup is complete, you can test the blinking operation. Now check to see if the smartphone's flashlight works. If the flashlight shines in this operation test, there is no problem.
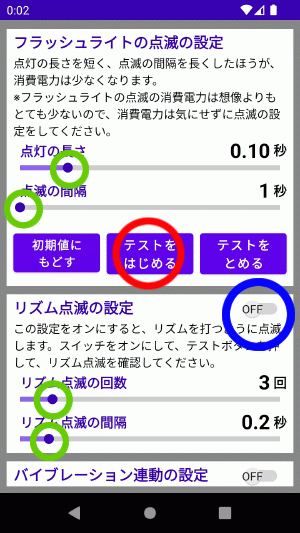
Test the flashlight operation before proceeding to step 5. Swipe up or down a bit to get to Flashlight Blink Settings .
The smartphone's flashlight blinks repeatedly. Tap the "Stop Test" button to stop blinking. *Blinking stops automatically when the smartphone is turned sideways during the operation test. Next, tap blue circle to turn it ON . When the blue circle turns on, tap the "Start Test" button . The blinking method changes. Tap the blue circle again to OFF to return to simple blinking. Swipe left or right or tap on the green circle . The gauge moves and you can change the blinking settings. After changing the settings, tap the "Start test" button and check if the indicator blinks. Set the blinking method to your liking. If you want to return the gauge settings to their initial state, tap the "Reset to default" button .
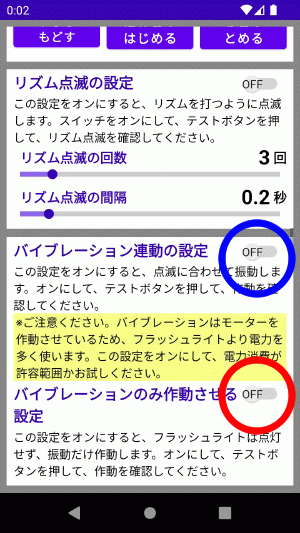
Please also try the vibration function.
Tap blue circle to turn it off. You can turn it on and off even while it is blinking. Tap the red circle to turn the switch ON , then Tap the "Begin Test" button . The flashlight does not shine, only vibration works. Tap the red circle to turn it off. You can turn it on and off even while it is blinking. This is the end of "Step 4 Test the blinking operation". Please proceed to step 5.
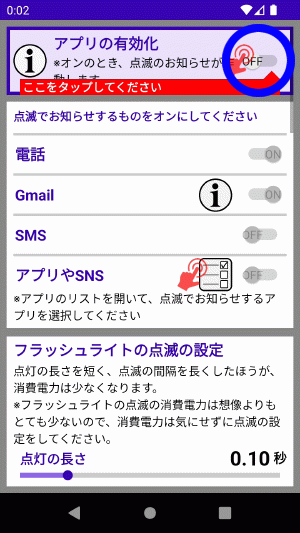
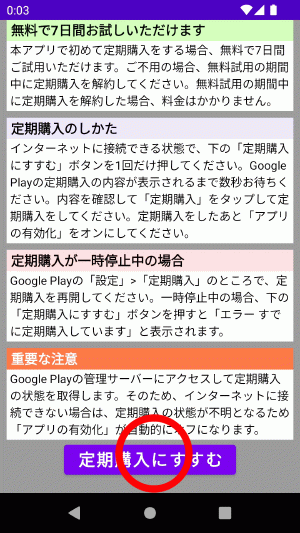
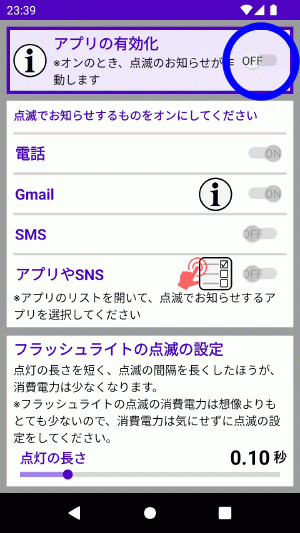
After confirming that the smartphone's flashlight blinks in the flashing operation test, activate the app.
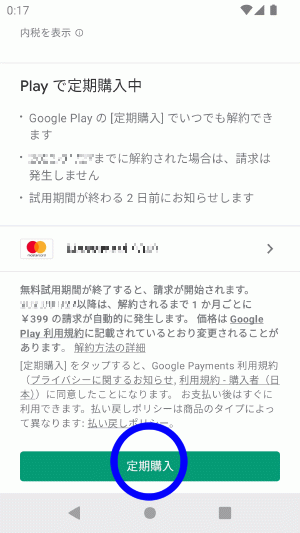
After tapping, please wait until the image below appears.
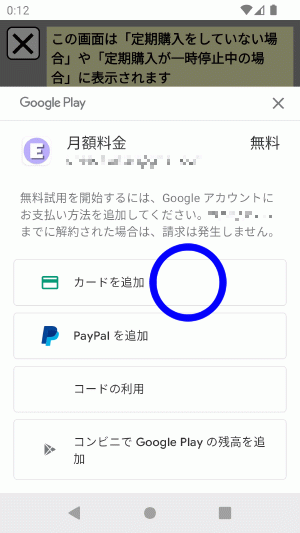
*" Google account name" and "date" are displayed differently depending on the user, so they are mosaicked in the image. Select and tap your preferred payment method. Here, we will explain when using a credit card, which is the most frequently used method. Blue circle Tap "Add card" .
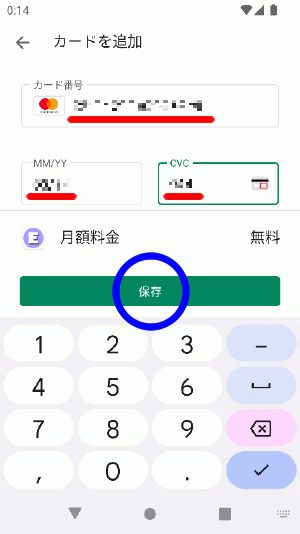
Enter " Credit card number ", " Expiration date ", and " Security code ( 3 digits on the back of the card ) ". *In this explanatory image, the MasterCard number is displayed because the MasterCard number has been entered. *Credit cards other than MasterCard can also be used. blue circle tap the "Save" button when you're done.
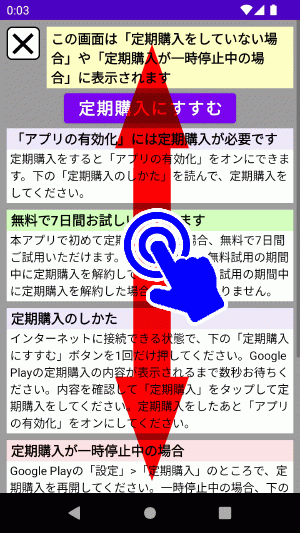
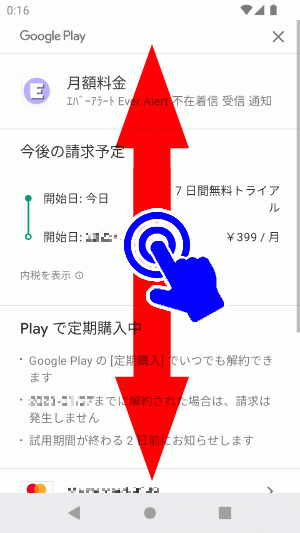
Swipe up and down to get a closer look. If you are using the app for the first time , you can try it for free for 7 days.
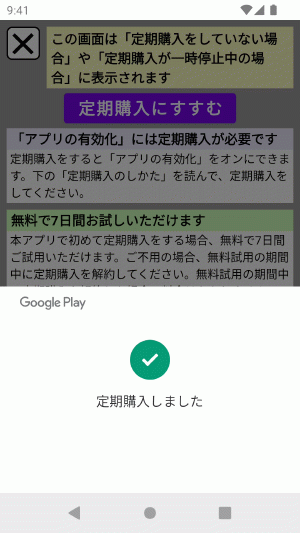
It will disappear automatically, so please wait for a few seconds. When the message "Subscription purchased" disappears, you will automatically return to the main screen of the app. *If the main screen does not appear automatically, tap the cross mark on the upper left to return to the main screen.
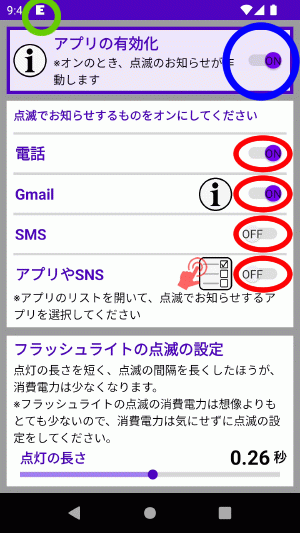
"App activation" is turned on, so you can operate the 4 switches at red circle Now When "App Activation" is turned on, the top of the screen ( status bar ) green "small E icon" is displayed in the circled area . *It may take a few seconds for the "small E icon" to appear when you turn on "App activation" for the first time.
This is the end of "Step 5 Activate the app". |


